Duplicating objects can be a powerful way of
creating geometrical artwork. You can duplicate one or more selected
objects by dragging them, using Arrow keys, copying to and pasting from
the Clipboard, or using the Offset Path command. When you copy objects
to the Clipboard, you can paste them on an artboard several different
ways: Paste, Paste in Front, Paste in Back, Paste in Place (New!), or Paste on All Artboards (New!).
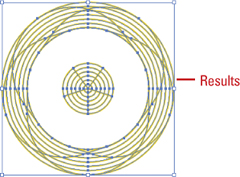
The Offset Path command duplicates a path (along with fill and stroke
attributes) and places it on the artboard based on the offset distance
specified in the Offset Path dialog box. The duplicate path is reshaped
to fit around the original path.
Duplicate or Copy Objects
- 1. Select the Selection tool on the Tools panel.
- If the object is in a group, select the Direct Selection tool on the Tools panel.

- 2. Use any of the following methods:
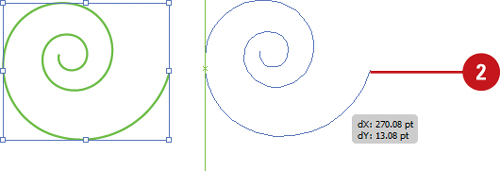
- Same Document. Hold down Alt (Win) or Option (Mac), and then drag the edge or fill of the object.
- Different Documents. Open the documents side by side, and then drag the edge or fill of the object from one document to another.
- Copy/Paste from Clipboard. Select the object, click the Edit menu, and then click Copy. Click in the target document or artboard, click the Edit menu, and then click Paste, Paste in Front, Paste in Back, Paste in Place (New!), or Paste on All Artboards (New!).
- Keyboard. Select the object, press Control , and then use an Arrow key to move the duplicated object in the
direction you want. The duplicate object moves away from the original
object based on the current keyboard increment value in General
preferences.

Duplicate Objects Using an Offset
- 1. Select the Selection tool on the Tools panel.

- 2. Select an object.

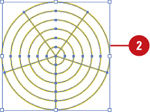
- 3. Click the Object menu, point to Path, and then click Offset Path.
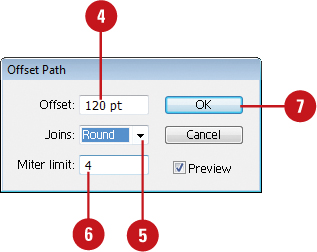
- 4. Enter the distance you want to offset the duplicate path from the original object.
- 5. Click the Joins list arrow, and then select a bend style: Miter (pointed), Round (circular), or Bevel (square-cornered).
- 6. You can set a limit (1-500) to determine when a mitered corner changes
into a beveled corner. A low number creates a more beveled corner, while
a high number creates a sharper corner.
- 7. Click OK.


|