A polygon
is a multisided closed figure. The simplest form of polygon is a
triangle: a three-sided object. CorelDraw 10 enables you to create
polygons with as many as 500 sides. A star is just a special instance of a polygon. Once you've a drawn polygon, you can easily change it into a star and vice versa.
To create a polygon:
1. |
Select the Polygon Tool from the Object flyout in the toolbox or press . .
The pointer changes to a cross-hair with a tiny polygon attached to it.
|
2. |
On the property bar, click the Polygon icon and specify the
desired number of sides in the Number of Points On Polygon text box (Figure 1).

|
3. |
To create the polygon, click and drag diagonally.
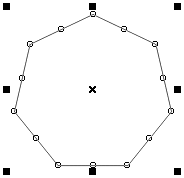
When you release the mouse button, nodes appear around the object's perimeter and the object is selected (Figure 2).
|
To create a star:
1. |
Select the Polygon Tool from the Object flyout in the toolbox or press . .
The pointer changes to a cross-hair with a tiny polygon attached to it.
|
2. |
On the property bar, click the Star icon and specify the number of sides in the Number of Points On Polygon text box (Figure 1).
|
3. |
To create the star, click and drag diagonally.
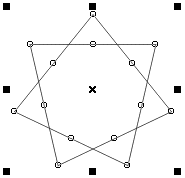
When you release the mouse button, nodes appear around the object's perimeter and the object is selected (Figure 3).
|
Polygon as Star
Using the Polygon Tool, you can create another type of star called polygon as star. Unlike the star you just created, a polygon as star is an outline that is easily filled with a color, texture, or pattern.
To create a polygon as star:
1. |
Double-click the Polygon Tool.
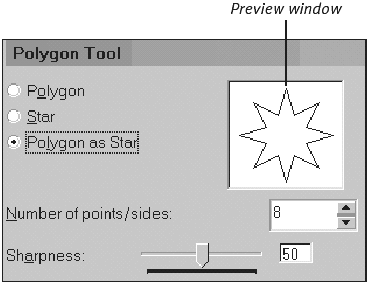
The Options dialog box appears open to the Polygon Tool section (Figure 4).
|
2. |
Click the Polygon as Star radio button.
|
3. |
Specify the number of points for the star and adjust the Sharpness slider bar.
As you change settings, the prospective star is shown in the preview window.
|
4. |
Click OK.
The drawing window reappears.
|
5. |
Click and drag to create a polygon as star (Figure 5).
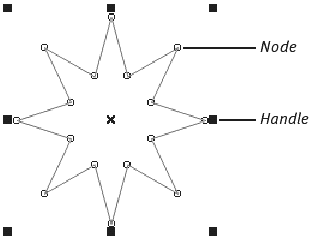
Release the mouse button and the object is selected.
|
Modifying a polygon or star
After drawing a polygon or star, you can alter it in any of the following ways:
Change a selected polygon into a star or a star into a polygon by clicking the Star or Polygon icon on the property bar.
Change the number of sides by choosing or entering a different number in the text box on the property bar.
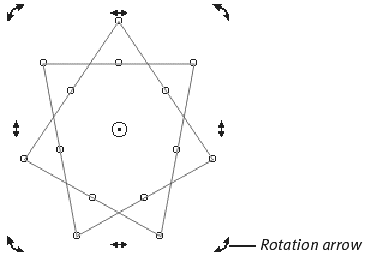
Rotate
the object by typing a number in the Angle of Rotation text box on the
property bar. You can also rotate an object by clicking its center and
then dragging one of the rotation arrows (Figure 6).
Alter the sharpness (Figure 7) of any star with seven or more points by moving the Sharpness slider on the property bar.

Change the a polygon or star's line thickness, outline color, or fill.
Change the object's size by clicking and dragging a handle.
Tips
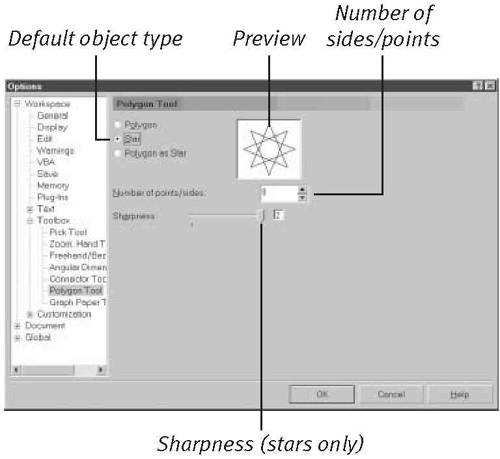
The default settings for the Polygon
Tool—not the settings on the property bar— determine whether you'll draw
a polygon or a star, its number of sides, and its sharpness. To set new
defaults (Figure 8), double-click the Polygon Tool icon or set polygon options on the property bar when no object is selected.
When you change the setting in the Number of Points On Polygon text box (see Figure 1), it only affects new polygons or any polygon that is currently selected. Other polygons are unchanged.
You can draw a polygon or star with equal-length sides by pressing  as you draw. If you press
  as you draw, the object will be drawn from its center.