Let's take a look now at the steps required to begin development of Windows Phone games and applications.
1. Installing Visual Studio
Installing Visual Studio
for Windows Phone development is very easy. If you do not already have a
full version of Visual Studio installed, you can visit http://create.msdn.com
to download Visual Studio 2010 Express for Windows Phone. This is a
free, complete, and fully functional development environment that will
provide all the tools needed for you to develop your games.
If you already have a full
version of Visual Studio 2010 installed, the same download will allow
you to add support for Windows Phone projects to your existing
installation. The setup application will detect the presence of Visual
Studio 2010 when it is launched, and will download just the components
that are required, based on your current system configuration.
Once the installation is
complete, Visual Studio 2010 can be launched, and the new project types
for Windows Phone development will appear. Figure 1
shows the New Project window from Visual Studio 2010 Express for
Windows Phone, containing just the Silverlight and XNA project template.
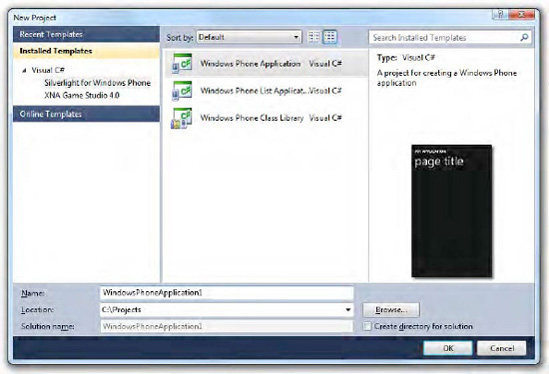
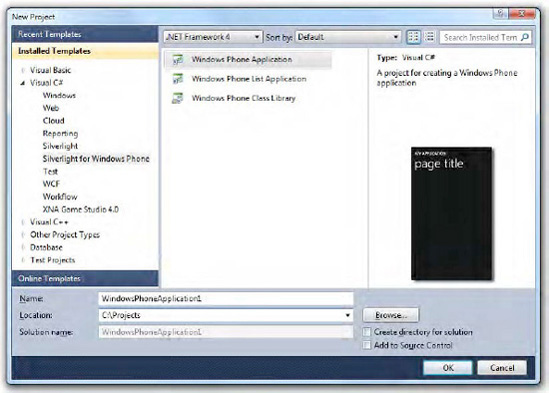
Figure 2 shows the same window in Visual Studio 2010 Professional with the Windows Phone development tools installed.
Once everything is installed as required, we are ready to begin.
2. Creating a Windows Phone Project
With tools all in place, it
is time to finally create a simple Windows Phone application and take a
look at how we interact with both the emulators and real devices. We
will create a simple Silverlight application for this purpose.
To begin, select File => New => Project within Visual Studio, and choose the Visual C# item within the list of Installed Templates, followed by the Silverlight for Windows Phone
template. The panel to the right will display the available Silverlight
templates that can be used to create a new project. Select the Windows Phone Application item.
Above the templates is a
drop-down list that allows the .NET Framework version to be selected.
For Windows Phone development we will always leave this set to .NET
Framework 4.
At the bottom of the window, select a project directory and enter a project name (or accept the default name of WindowsPhoneApplication1
if you wish). Unless you have a particular preference for using
separate directories for the solution and project files, uncheck the Create directory for solution check box to keep the directory structure a little tidier.
Once everything is ready, click
the OK button to create the project. After a few seconds, the new
project will open within the Visual Studio IDE.
2.1. Project Templates
A number of different
templates are provided by Visual Studio for your new project. Each of
these will result in a different initial project for you to start
working on, as follows:
Silverlight/Windows Phone Application:
This is the main project template for creating Silverlight
applications.
Silverlight/Windows Phone List Application:
This template creates another nearempty Silverlight project, but with a
scrollable item list initially present within the main page. This can
be a useful shortcut if your user interface takes this form.
Silverlight/Windows Phone Class Library:
In order to create a class library that can be used by other
Silverlight projects, use this template. Note that Silverlight class
libraries cannot be used by XNA projects.
XNA Game Studio 4.0/Windows Phone Game:
This is the template to select to create a new XNA game project.
XNA Game Studio 4.0/Windows Phone Game Library:
Just as with the corresponding Silverlight template, this template
creates a class library that can be used by other XNA projects. XNA
class libraries cannot be used by Silverlight projects.
It is not possible to
change the project type once the project has been created. If you find
that you need to change the project once you have started developing it,
you will need to create a new project of the required type and copy in
all of the existing code files.
3. Designing a Page
Now, we are ready to make some minor changes to your test application's default page. The page is named MainPage.xaml inside Solution Explorer and should open automatically when the project is created.
On the left half of the
page editor window is the page designer and preview area. On the right
half is the XAML code for the page. If you want, you can change the
orientation of the divide by clicking the Horizontal Split or Vertical
Split buttons at the bottom or right of the dividing bar between the
two. The two parts can also be quickly swapped over by clicking the Swap
Panes button, also located inside the divider. The designer panel also
contains a useful zoom slider that allows you to focus more closely on
the page design for detailed layout work if required.
Notice that the page is
very, well, black. There is actually a good reason for this, and it is
something that you'll notice across many of the Windows Phone
applications. Windows Phone devices commonly use organic light emitting
diode (OLED) screens for display; they provide a sharp image and are
highly responsive to updates, but consume more power when they emit more
light. Having a black background therefore results in lower power
consumption, which is always a good thing for a mobile device.
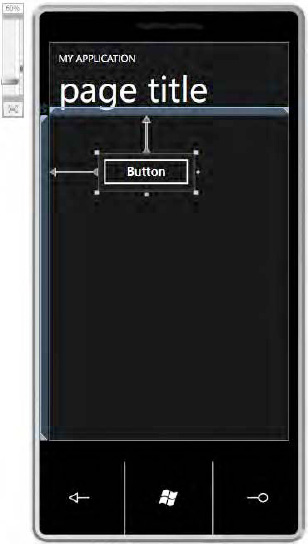
For the purposes of this simple
application, we will simply place a Button control onto the page and
get it to display a message when clicked. The Button is added from the
toolbox exactly as it would be for a desktop application: click the
Button icon in the Toolbox panel and then draw it into the empty region
in the center area of the page. The result can be seen in Figure 3.
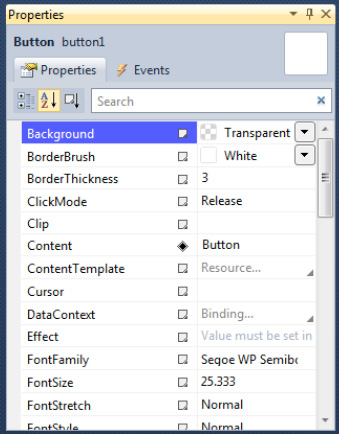
Once you have added your Button, take a look at its properties in the Properties window (see Figure 4).
If you are used to creating Silverlight applications outside of the
Windows Phone environment, everything should look very familiar: all the
normal Silverlight properties should be present and correct. If you
have worked only with Windows Forms in the past, many of these
properties might be unfamiliar, but there should also be some whose
purpose is obvious.
|
If the Properties window is
not open, it can be opened by selecting the View/Properties Window item
from Visual Studio's main menus. Under the default key mappings, it can
also be opened by pressing F4 on the keyboard.
|
|
Double-click the button to open the code designer and create the button's Click
event handler. This will display the "code behind" file for the page,
which is where the C# code is developed. In Solution Explorer you will
see that the MainPage.xaml item has expanded to reveal MainPage.xaml.cs
contained within. These two files are analogous to the form design and
form code files that are present when working with Windows Forms.
The code within MainPage.xaml.cs
should look just as you would expect when developing a desktop
application. At this stage, it should be clear how much similarity there
is within the Visual Studio IDE between desktop and Windows Phone
application development.
Complete the implementation of the button1_Click procedure, as shown in Listing 1, so that it simply displays a MessageBox.
Example 1. The button1_Click procedure
private void button1_Click(object sender, RoutedEventArgs e)
{
    System.Diagnostics.Debug.WriteLine("Debug text");
}
|