|
The table capabilities of PowerPoint are perfectly adequate for the
display of simple information that is unlikely to change during the useful life
of the presentation. However, if your data involves calculations or is likely to
require updating, you’ll probably want to maintain the information in
an Excel worksheet. You can then embed the worksheet in a slide as an object, or
you can link the slide to the worksheet so that you won’t have to
worry about keeping the data current in more than one place.
Embedded objects and linked objects differ in the following ways:
An embedded object is an object that maintains a direct connection to
its original program, known as the source program. After you insert an
embedded object, you can easily edit it by double-clicking it, which
opens the program in which it was originally created. Be aware that
embedding an object in a presentation increases the
presentation’s file size, because PowerPoint has to store not
only the data itself but also information about how to display the
data. A linked object is a representation on a slide of information that is
still stored in the original document, known as the source
document. If you edit the source document in the source
program after adding a linked object to a slide, PowerPoint updates the
representation of the object. Because PowerPoint stores only the data
needed to display the information, linking results in a smaller file
size than embedding.
Note:
Always make modifications to the source document, not the linked
object on the slide. Any changes you make to the linked object will
be overwritten the next time you open the presentation, because
PowerPoint will update the linked object to reflect the version in
the source document.
For example, suppose a sales manager stores past sales information and future
sales projections in Excel worksheets. On one slide in a presentation, she might
embed the past sales information, which won’t change, as an object. On
another slide, she might link the future sales projections, which she is still
in the process of fine-tuning. Then as she updates the projections worksheet,
the linked table in the PowerPoint presentation automatically updates as
well.
In this exercise, you’ll insert an Excel worksheet and then update
and format the content of the embedded object.
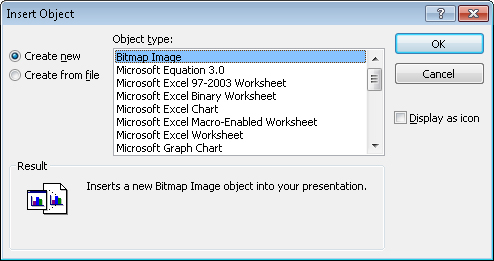
Display slide 9, and then on the
Insert tab, in the Text group, click the Object
button.

The Insert Object dialog box opens.
You can create any of the objects in the Object Type
list from within PowerPoint.
Click Create from file, and then
click Browse.
The Browse dialog box opens. (It is similar to the Open dialog
box.)
Navigate to your practice
file folder, click the NewEquipment
workbook, and then click OK.
The location of the workbook appears in the File box.
To link rather than embed the workbook, select the
Link check box.
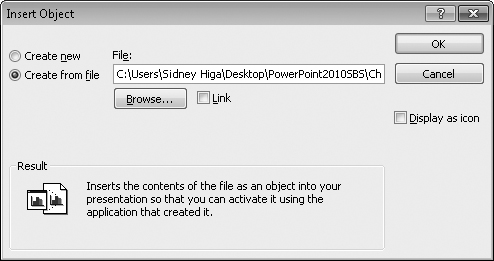
Click OK.
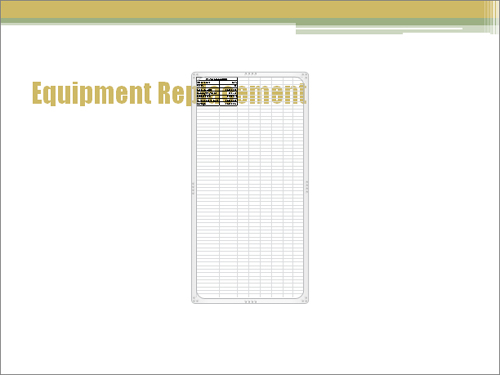
PowerPoint embeds the data from the specified workbook in the
slide.
The object is inserted in the center of the
slide.
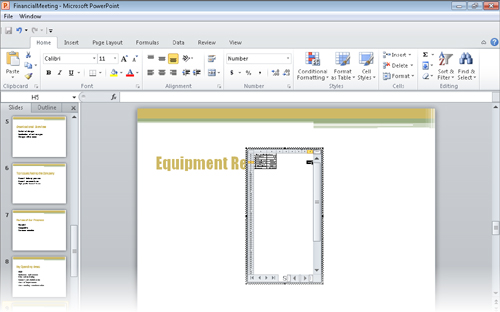
Double-click the worksheet object.
The worksheet opens in an Excel window within PowerPoint.
When you double-click an embedded worksheet, the Excel
ribbon replaces that of PowerPoint across the top of the
program window.
Note:
The appearance of buttons and groups on the ribbon changes
depending on the width of the program window.
Point to the black handle in the middle of the bottom frame of the
Excel window, and when the pointer becomes a double-headed arrow, drag
up until the window is just big enough to contain the active part of the
worksheet.
Be careful not to obscure any data.
You have sized the frame so that it just fits the
data.
Click outside the window to return to PowerPoint. Then point to the
lower-right corner of the object, and drag down and to the right to
enlarge it.
Note:
Be sure to point to the corner. Although you can’t see
it, you want to drag the sizing handle. If you drag the frame
instead, you’ll move the object instead of sizing it. If
you drag down too much or to the right too much, you will expose
empty cells. If that happens, click the Undo button, and try
again.
Point to the frame (not to a handle), and drag the worksheet object to
the center of the slide. Then double-click the worksheet object
again.
Once again, the object is displayed in an Excel window.
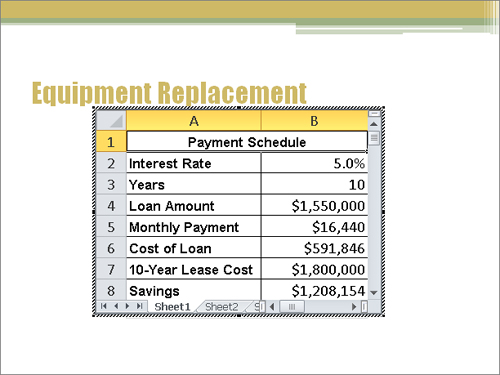
Now you can see that the columns are labeled with
letters (A, B, C, and so on), and the rows are labeled with
numbers (1, 2, 3, and so on).
You can reference each cell by its column letter followed by its row
number (for example, A1). You can reference a block of cells by the cell
in its upper-left corner and the cell in its lower-right corner,
separated by a colon (for example, A1:C3).
Click cell B2, and notice in the
Number group that the
cell’s contents are formatted as a percentage.
Click each of the other cells in column B in turn, and notice the contents of the formula bar
(the box to the right of fx above the
slide) and the format in the Number
group.
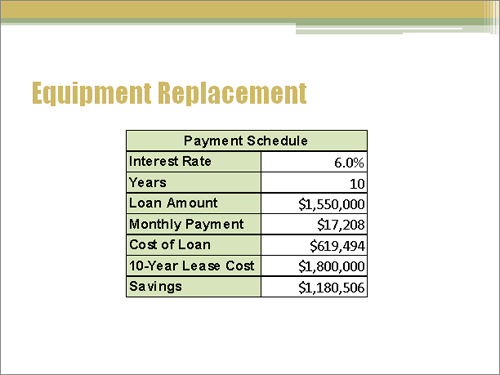
Click cell B2, type 6, and then press Enter.
Excel uses formulas in cells B5, B6, and B8 to calculate the new cost
of the equipment loan. The amount in cell B5 changed to $17,208, the
amount in B6 changed to $619.494, and the amount in cell B8 changed to
$1,180,506. These changes affect only the object on the slide; the data
in the original Excel worksheet has not changed.
Select cell A1, which is merged
with cell B1, and then on the Excel Home tab, in the Font
group, click the Fill Color arrow.
Under Theme Colors in the palette,
click the second box in the green column (Olive
Green, Accent 3, Lighter 60%).

Point to cell A2, and drag down to
cell A8. Then click the Fill Color button to shade the selected
cells with the default color.
Click a blank area of the slide.
Excel closes, and the PowerPoint ribbon reappears.
Click the blank area again to deactivate the object.
You can now see the results of your formatting.
You’ve successfully embedded and formatted a
worksheet in a PowerPoint slide.
Note:
Save the FinancialMeeting presentation, and then close it.
|