Add and delete design-time data
By
default, the Data List component begins with five sample records. In
some cases, this may not be enough to demonstrate the list effectively.
For example, a list that will eventually display a large collection of
thumbnail images may need a larger sample to activate the scroll bar or
to fill out the total area in a tiled set of images.
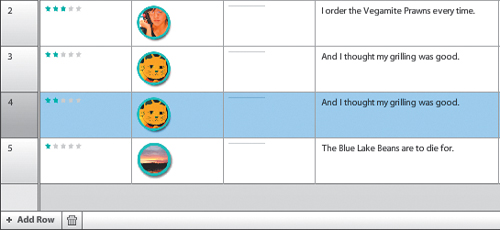
1. | In
the Design-Time Data panel, click row number 3 in the far-left column
to select it. Be sure to click the row number, not one of its image or
text columns.
Clicking the row number selects the row without opening the Select Asset dialog box.
|
2. | Click Add Row in the Design-Time Data panel.
An exact copy of the selected row is added below it and any rows after
that are renumbered. You can swap the images and text, just like you’ve
done for the other rows.
 |
3. | Select the new row you just added (it should be row 4), and click the Delete icon ( ) in the Design-Time Data panel. ) in the Design-Time Data panel.
The row is deleted.
|
4. | Collapse the Design-Time Data panel so you can see more of the artboard.
|
Add and remove elements in the repeated item
After creating the data list, you can modify the repeated item template by adding or removing text and images.
1. | Select the Data List component and click Edit Parts in the HUD to edit the component in Edit-In-Place mode.
Tip
To edit a Data List component
in Edit-In-Place mode, you can double-click the data list. You can also
select it and choose Modify > Edit Component. A third option is to
select it and click Edit Parts in the HUD.
|
2. | Double-click the repeated item (anywhere in the list of reviews).
|
3. | In the Images category in the Library panel, locate the categoryIcon_Japanese.png file.
It’s a little piece of sushi.

|
4. | Drag the categoryIcon_Japanese.png file to the artboard and position it to the left of the stars.
Right now, the sushi graphic is only in the Normal state of the repeated item.

|
5. | Choose States > Share To State > All States.
Now the sushi icon appears in the Normal, Over, and Selected states.
Note
If you add new text in the
repeated item, the option in the Design-Time Data section of the HUD
changes to Add Text To Design-Time Data.
|
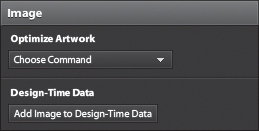
6. | In the Design-Time Data section of the HUD, choose Add Image To Design-Time Data.
|
7. | Click Review_Popup in the Breadcrumbs bar.
Every item in the data list now includes the sushi graphic.
|
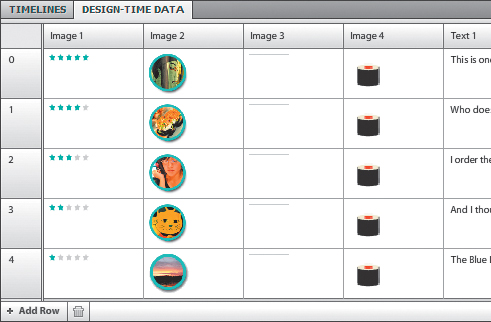
8. | Expand the Design-Time Data panel.
A new column, Image 4, is added to the Design-Time Data panel.
|
9. | Click the Image 4 sushi graphic in row 1.
|
10. | In the Select Asset dialog box, select categoryIcon_Cafe.png and click OK.
The sushi is now a cup of coffee.
|
11. | Collapse the Design-Time Data panel.
The icons are updated in the list.

|
12. | Double-click the Data List component to edit it in Edit-In-Place mode.
|
13. | Double-click the repeated item (anywhere in the list of reviews) to edit it.
|
14. | Select the sushi graphic.
|
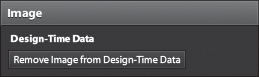
15. | In the HUD, choose Remove Image From Design-Time Data.
The image is no longer part of the design-time data, but it still appears in the artboard.
|
16. | Select the sushi graphic, open the Layers panel, and click the Delete icon ( ) in the Layers panel to remove it from the application. ) in the Layers panel to remove it from the application.
Tip
You can also add or remove
repeated item template images and text by choosing Modify > Add Image
(or Text) To Design-Time Data; or choosing Modify > Remove From
Design-Time Data.
|
17. | Close the project without saving changes and leave Flash Catalyst open. |