There are three main steps to making a Data List component. These are:
Design a sample item or
record in the list. Add a scroll bar if your list will extend beyond
the available space in the user interface.
Convert the sample record (and scroll bar) into a Data List component.
Define the elements that represent the repeated item (a single record).
Design a sample record
If you think about a
traditional data list, there are typically columns and rows of
information. Each row represents a unique record in the database. For
each record there may be several columns of information. For example, an
employee list displays each employee in a different row and includes
columns for employee name, number, department, hire date, and so on.
In Flash Catalyst, records
can be listed horizontally, vertically, or tiled. Each record can
include text, numbers, images, and other artwork. The first step to
making a Data List component is to pull together the elements that make
up a single record. If your list requires a scroll bar, you can place it
relative to the first item in the list.
1. | Browse to the Lesson10 folder on your hard drive and open the Lesson10_Restaurants.fxp file.
|
2. | Select SubPages in the Pages/States panel.
|
3. | In the Layers panel, select Sub Pages.
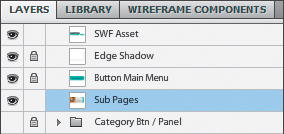
This selects the Sub Pages custom component in the artboard. The
restaurant reviews data list will be nested inside the Info state in the
Sub Pages custom component. Nesting components is an efficient way to
create multiple views without adding additional application pages.
|
4. | In the Heads-Up Display (HUD), click Info to edit the Sub Pages custom component in Edit-In-Place mode.
The component opens with the Info state selected. The Info state includes another nested component called Review Popup.
|
5. | In the Layers panel, expand the Sub Pages layer folder, expand the Info layer folder, and select Review Popup.
The Review Popup custom component is selected in the artboard.
|
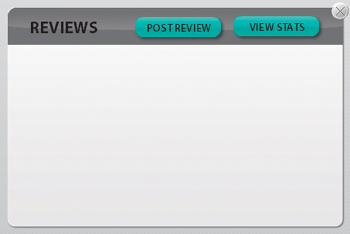
6. | In the HUD, click Reviews to edit the Review Popup component in Edit-In-Place mode with the Reviews state selected.
This is where the restaurant reviews belong. This data list will include
more reviews than can fit vertically in the Reviews Popup, so you’ll
need to add a vertical scroll bar.
|
7. | In the Library panel, expand the Components category and select the Review_Popup_VerticalScrollbar component.

|
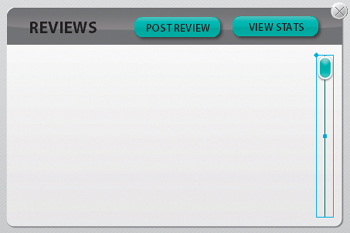
8. | Drag
the Review_Popup_VerticalScrollbar from the Library panel to the
artboard. Position it along the right side of the empty white space.
Now let’s import the artwork for a sample review that was designed in Adobe Photoshop.
|
9. | Choose
File > Import > Adobe Photoshop File (.psd). Browse to the
Lesson10 folder, select the DataList_art.psd file, and click Open. Click
OK to accept the default import fidelity options.
The sample review artwork is imported and selected in the artboard.
|
10. | Position the artwork at the top of the reviews panel and to the left of the scroll bar.
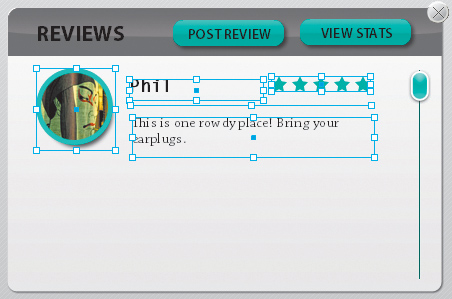
You now have one sample record and a scroll bar.
|