IT tutorials
 
Graphics
 

CorelDraw 10 : Adding Graphics to a Page (part 1) - Creating Rollover Graphics

11/21/2011 10:27:44 AM
- Free product key for windows 10
- Free Product Key for Microsoft office 365
- Malwarebytes Premium 3.7.1 Serial Keys (LifeTime) 2019
Graphics make Web pages visually interesting while helping to convey your message. With CorelDraw, you can create your own images, use ones from the included clip art library, or import images from other sources.

Normally, Web graphics must either be in GIF or JPEG format. However, CorelDraw automatically converts other types of images to these formats when you convert your document to Web pages. So feel free to add images regardless of their file format.

If you want to use CorelDraw 10 to create graphics for use in other Web page editors (such as Adobe GoLive), you can export the images as GIF or JPEG files.

To add a graphic to a Web page, use normal CorelDraw techniques, such as creating your own image, inserting images from the Scrapbook docker, or importing them via the File > Import command.

Creating Rollover Graphics

You've probably seen those nifty buttons that light up or display text when the cursor passes over them. These objects are called rollover graphics, and you can create them entirely in CorelDraw 10.

Each rollover has three states: normal (when no mouse activity is associated with the button); over (when the cursor is passed over the object); and down (when the button is clicked).

To create a rollover graphic:
1.
Create, import, or insert an object that will serve as your button (Figure 1).
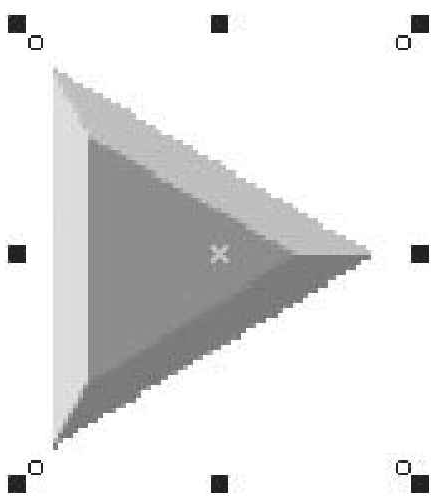
Figure 1. Select the image that you want to convert into a rollover graphic.


2.
Select the object and choose Effects > Rollover > Create Rollover.

CorelDraw transforms the object into a three-state rollover.

3.
Choose Effects > Rollover > Edit Rollover.

The drawing window changes as shown in Figure 2.
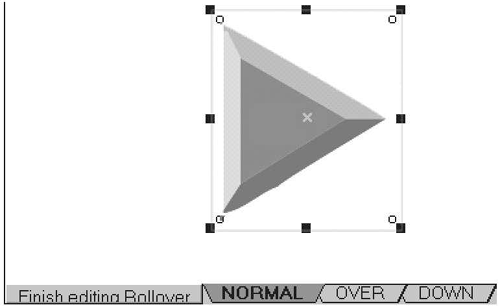
Figure 2. Each of the three tabs on the right represents one of the button states.


4.
Click the Over tab and make the necessary changes to represent what the user should see when the cursor is passed over the button (Figure 3).
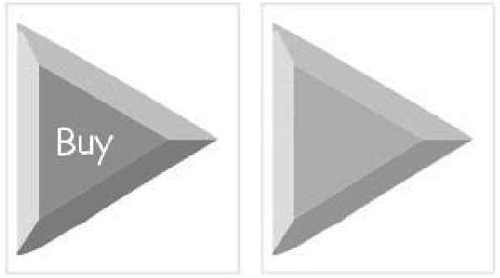
Figure 3. These images show the over state (left) and down state (right).


5.
Click the Down tab and make the necessary changes to represent what the user should see when the button is clicked (Figure 3).

6.
When you're done, click the Finish editing Rollover tab.

7.
To preview the rollover, choose View > Enable Rollover. Test the rollover by moving the cursor over it and clicking it. Choose View > Enable Rollover again when you're through testing.
 
Others
 
- CorelDraw 10 : Adding Text to a Web Page
- Adobe Flash Professional CS5 : Transforming Gradients and Bitmap Fills (part 2) - Adjusting scale with the Gradient Transform tool, Setting gradient fill overflow styles
- Adobe Flash Professional CS5 : Transforming Gradients and Bitmap Fills (part 1) - Adjusting the center point with the Gradient Transform tool, Rotating a fill with the Gradient Transform tool
- Adobe InDesign CS5 : Joining Anchor Points & Using the Smooth Tool
- Adobe InDesign CS5 : Splitting Paths
- Adobe Flash Catalyst CS5 : Using design-time data (part 2) - Add and remove elements in the repeated item
- Adobe Flash Catalyst CS5 : Using design-time data (part 1) - Replace design-time images & Edit design-time text
- Adobe Flash Catalyst CS5 : Setting data list properties
- Adobe Illustrator CS5 : Learning the Truth About Transparency (part 2)
- Adobe Illustrator CS5 : Learning the Truth About Transparency (part 1) - Understanding Transparency Flattening
 
 
Top 10
 
- Microsoft Visio 2013 : Adding Structure to Your Diagrams - Finding containers and lists in Visio (part 2) - Wireframes,Legends
- Microsoft Visio 2013 : Adding Structure to Your Diagrams - Finding containers and lists in Visio (part 1) - Swimlanes
- Microsoft Visio 2013 : Adding Structure to Your Diagrams - Formatting and sizing lists
- Microsoft Visio 2013 : Adding Structure to Your Diagrams - Adding shapes to lists
- Microsoft Visio 2013 : Adding Structure to Your Diagrams - Sizing containers
- Microsoft Access 2010 : Control Properties and Why to Use Them (part 3) - The Other Properties of a Control
- Microsoft Access 2010 : Control Properties and Why to Use Them (part 2) - The Data Properties of a Control
- Microsoft Access 2010 : Control Properties and Why to Use Them (part 1) - The Format Properties of a Control
- Microsoft Access 2010 : Form Properties and Why Should You Use Them - Working with the Properties Window
- Microsoft Visio 2013 : Using the Organization Chart Wizard with new data
Technology FAQ
- Is possible to just to use a wireless router to extend wireless access to wireless access points?
- Ruby - Insert Struct to MySql
- how to find my Symantec pcAnywhere serial number
- About direct X / Open GL issue
- How to determine eclipse version?
- What SAN cert Exchange 2010 for UM, OA?
- How do I populate a SQL Express table from Excel file?
- code for express check out with Paypal.
- Problem with Templated User Control
- ShellExecute SW_HIDE
programming4us programming4us