The Android SDK gives you all the tools you need to
create and test Android applications. It comes in two parts: the base
tools, and version-specific SDKs and related add-ons.
1. Install the Base Tools
You can find the Android
developer tools on the Android Developers web site. Download the ZIP
file that is appropriate for your platform and unzip it in a logical
location on your machine—no specific path is required. Windows users
also have the option of running a self-installing EXE file.
2. Install the SDKs and Add-ons
Inside the tools/ directory of your Android SDK installation from the previous step, you will see an android batch file or shell script. If you run that, you will be presented with the Android SDK and AVD Manager, shown in Figure 1.
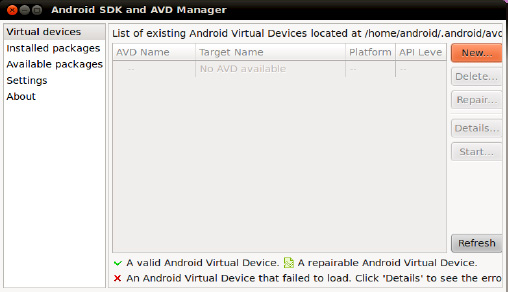
At this point, you have some of
the build tools, but you lack the Java files necessary to compile an
Android application. You also lack a few additional build tools, and the
files necessary to run an Android emulator. To address this, click the
Available packages option on the left to open the screen shown in Figure 2.
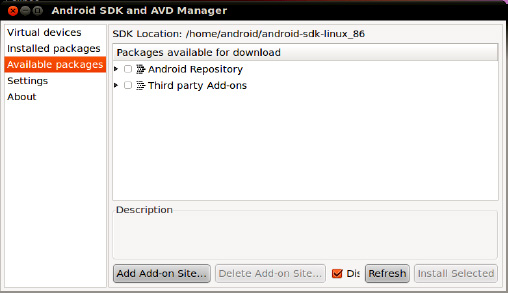
Open the Android Repository branch of the tree. After a short pause, you will see a screen similar to Figure 3.
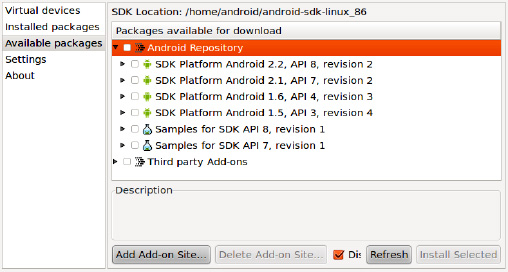
Check the boxes for the following items:
"SDK Platform" for all Android SDK releases you want to test against
"Documentation for Android SDK" for the latest Android SDK release
"Samples for SDK" for the latest Android SDK release, and perhaps for older releases if you wish
Then, open the Third party Add-ons branch of the tree. After a short pause, you will see a screen similar to Figure 4.

Click the "Google Inc. add-ons" branch to open it, as shown in Figure 5.
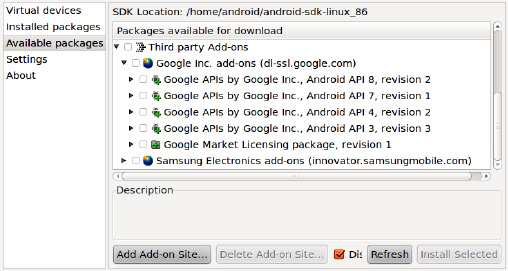
Most likely, you will want to
check the boxes for the "Google APIs by Google Inc." items that match up
with the SDK versions you selected in the Android Repository branch.
The Google APIs include support for Google Maps, both from your code and
in the Android emulator.
After you have checked all
the items you want to download, click the Install Selected button, which
brings up a license confirmation dialog box, shown in Figure 6.
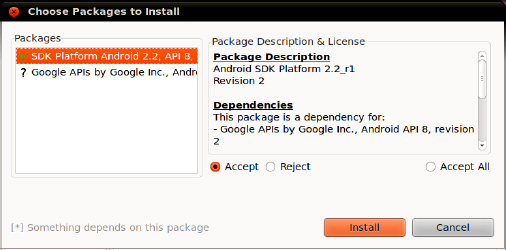
Review and accept the
licenses if you agree with the terms, and then click the Install button.
At this point, this is a fine time to go get lunch or dinner. Unless
you have a substantial Internet connection, downloading all of this data
and unpacking it will take a fair bit of time.