Build a Form with the Form Wizard
Using the Form Wizard gives you more flexibility than
using the AutoForm feature to create forms. It also requires more
knowledge on your part. Here’s how you use it:
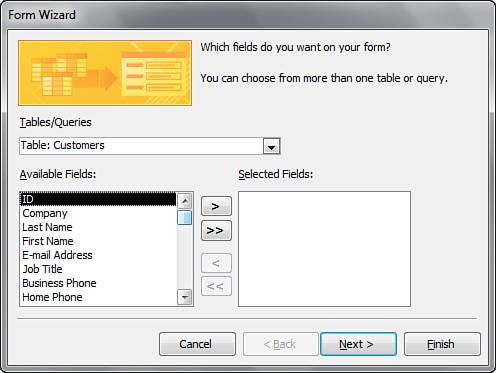
1. | Select Form Wizard in the Forms group on the Create tab of the Ribbon. The Form Wizard appears (see Figure 1).

|
2. | Select the table or query on which you want to base the form.
|
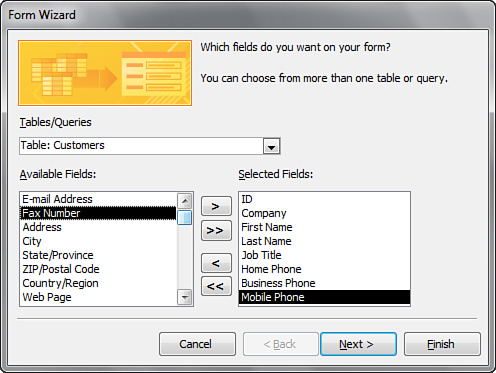
3. | Select the fields you want to include on the form (see Figure 2).

|
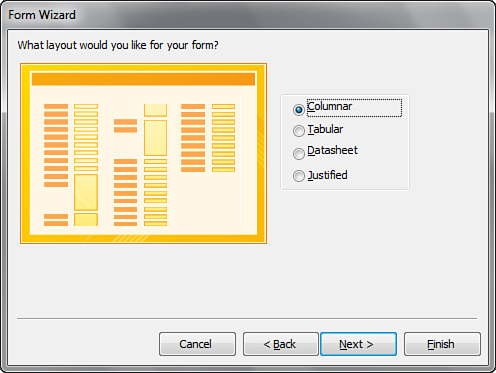
4. | Click Next. Select a layout for the form (see Figure 3).

|
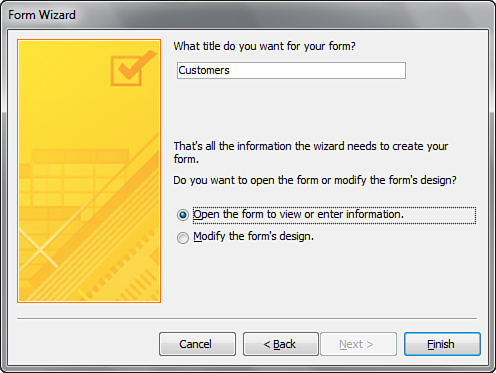
5. | Click Next. Provide a title for the form (see Figure 4).

|
6. | Click Finish.
|
If you create a form by clicking the More Forms
button in the Forms group of the Create tab of the Ribbon, you have
choices about what kind of form you want to create:
The Multiple Items option creates a form that shows multiple records at once.
The Datasheet option displays multiple records in a datasheet.
The
Split Form option creates a form that includes a datasheet in the upper
section and a data entry form in the lower section. You enter
information into the form section.
Using
the Modal Dialog option, you can quickly and easily create dialogs that
you use in your application. An example is a form used to gather
criteria for the printing of a report.
The PivotChart option assists you in creating a form that contains a graph.
The PivotTable option assists you in creating a form that contains an embedded Excel pivot table.