PowerPoint offers several ways to enliven your
presentations with images, including inserting your own pictures,
selecting an image from Microsoft’s vast clip gallery, inserting a photo
album, and—new to Office 2010—the ability to take and insert
screenshots.
Understanding PowerPoint Images
You can insert a variety of
images into your PowerPoint presentations, including both illustrations
and photographs. You do this by inserting a picture from your own computer or network or by inserting clip art from PowerPoint’s clip art library.
PowerPoint works with two basic types of images. Bitmap
images are composed of pixels: tiny dots of color. A single image might
contain hundreds of thousands of pixels. Bitmap images are the most
common type of images on the web. Photos from digital cameras are also
bitmaps. Common bitmap file formats include .bmp, .gif, .jpg, .png, and
.tif.
Vector
images, on the other hand, are composed of points, lines, and curves.
Because you can easily resize and change the color of vector images,
they are popular for producing logos and other images that need to be
repurposed. Common vector file formats include .eps, .wmf, and .svg.
Table 1 lists the most common image formats you can use in PowerPoint.
Table 9.1. Image Formats
| File Extension | Format |
|---|
| .emf | Enhanced Metafile |
| .wmf | Windows Metafile |
| .jpg, .jpeg, .jfif, .jpe | JPEG File Interchange Format |
| .png | Portable Network Graphics |
| .bmp, .dib, .rle, .bmz | Windows Bitmap |
| .gif, .gfa | Graphics Interchange Format |
| .emz | Compressed Windows Enhanced Metafile |
| .wmz | Compressed Windows Metafile |
| .pcz | Compressed Macintosh PICT |
| .tif, .tiff | Tag/Tagged Image File Format |
| .wpg | WordPerfect Graphics |
| .cdr | CorelDraw |
| .cgm | Computer Graphics Metafile |
| .eps | Encapsulated PostScript |
| .pct, .pict | Macintosh PICT |
| .pcd | Kodak Photo CD |
Inserting Pictures
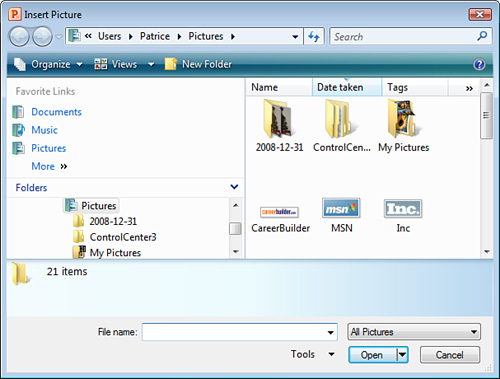
To insert a picture on a slide, click the Insert tab and click the Picture button. The Insert Picture dialog box opens (see Figure 9.1), which is similar to the Open dialog box.
|
Another way to insert a
picture on a slide is to use the content palette. To do so, on the Home
tab, click the down arrow below the New Slide button, and select one of
the slide layouts that includes the content palette. On your new slide,
click the Insert Picture from File button on the palette to open the
Insert Picture dialog box.
|
Select
the picture you want, and click the Insert button to insert it on your
slide. If you plan to make updates to this picture and would rather link
to it instead, click the down arrow to the right of the Insert button
and choose to either link directly to the file or insert it and link to it.
You can resize and reposition your picture and modify it in other ways.
Inserting Clip Art
Microsoft Office
offers thousands of clip art images that you can use to illustrate your
presentations. Microsoft’s website includes even more images. After you
insert clip art into your presentation, you can reformat, recolor, and
redesign it to suit your needs.
Inserting Clip Art
To insert a clip art image into your PowerPoint presentation, follow these steps:
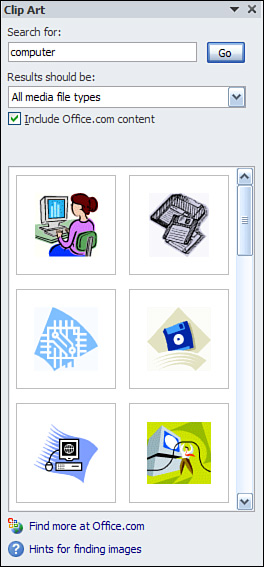
1. | On the Insert tab, click the Clip Art button. The Clip Art task pane opens, as shown in Figure 2.
|
Another way to insert clip art
on a slide is to use the content palette. To do so, on the Home tab,
click the New Slide button, and select one of the slide layouts that
includes the content palette. On your new slide, click the Clip Art
button on the palette to open the Clip Art task pane.
|
|
2. | Enter
a keyword or keywords in the Search For text box. For example, you can
search for images with computers, people, and so forth.
|
3. | Specify
the type of media files for which you want to search. Options include
all media types, illustrations, and photographs. You can also search for
audio and video clips in this task pane.
|
4. | If you want to search Office.com for additional content, select the Include Office.com Content check box. The Office.com site (http://office.microsoft.com) contains an extensive clip art collection from numerous sources.
|
5. | Click the Go button to display matching results.
|
6. | Drag your selected picture from the task pane to the slide.
|
|
Optionally, click the down arrow
to the right of an image to view a menu of options. From here, you can
copy or delete the image, edit the image’s keywords, or preview the
image’s properties.
|
You can resize and reposition your clip art image and modify it in other ways.